
Search Images
Browse Content (p. 596)
Image
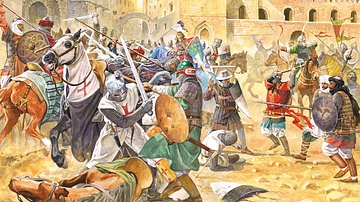
Battle of Mansoura (1250 CE)
Illustration of the Battle of Mansura (1250 CE) during the Seventh Crusade, by Marek Szyszko. Courtesy of Medieval Warfare Magazine / Karwansaray Publishers.
Image
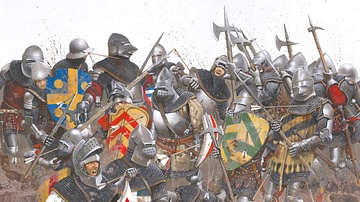
Illustration of the Battle of Agincourt (1415 CE)
Illustration of the Battle of Agincourt (1415 CE) by Zvonimir Grbasic. Medieval Warfare Magazine / Karwansaray Publishers.

Image
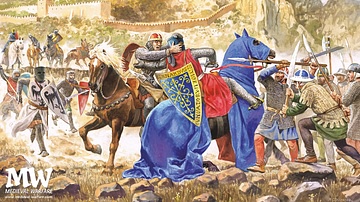
Attempted Assassination of Saladin (1176 CE)
Illustration of the second attemopt to assasinate Saladin (r. 1174-1193 CE), in 1176 CE. Illustrated by by Zvonimir Grbasic. Courtesy of Medieval Warfare Magazine / Karwansaray Publishers.

Image
Sack of Rome (1527 CE)
The Papal Swiss Guard make a last stand during the Sack of Rome in 1527 CE, illustrated by Zvonimir Grbasic. Courtesy of Medieval Warfare Magazine / Karwansaray Publishers.

Image
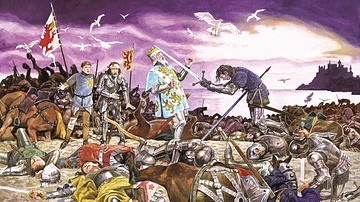
Battle of Barnet (1471 CE)
Illustration of the Battle of Barnet (1471 CE), a decisive battle of the Wars of the Roses, by Graham Turner. Courtesy of Medieval Warfare Magazine / Karwansaray Publishers.
Image
Battle of Agridi (1232 CE)
Illustration of the Battle of Agridi (1232 CE), during the War of the Lombards, by Marek Szyszko. Courtesy of Medieval Warfare Magazine / Karwansaray Publishers.
Image
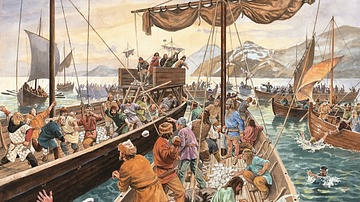
Battle of Floabardagi (1244 CE)
The Battle of Floabardagi (1244 CE) by Marek Szyszko. Courtesy of Medieval Warfare Magazine / Karwansaray Publishers.
Image
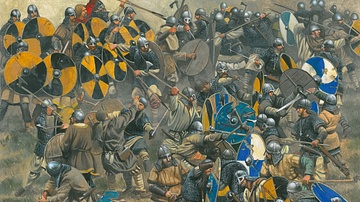
Battle of Brunanburh
Illustration of the Battle of Brunanburh (937 CE) by Zvonimir Grbasic. Courtesy of Medieval Warfare Magazine / Karwansaray Publishers.
Image
Death of King Arthur by Marek Szyszko
"The Death of King Arthur" by Marek Szyszko. Courtesy of Medieval Warfare Magazine / Karwansaray Publishers.
Image
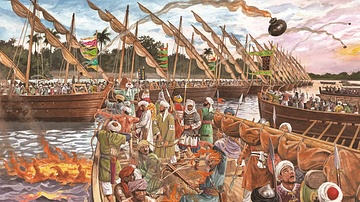
Battle Between Yalbugha & Al-Ashraf Sha'ban
Illustration of the 1366 battle on the Nile river, fought between the forces of the Mamluk emir Yalbugha (c. 14th Century CE-1366 CE) and the Sultan Al-Ashraf Sha'ban (r. 1363–1377).